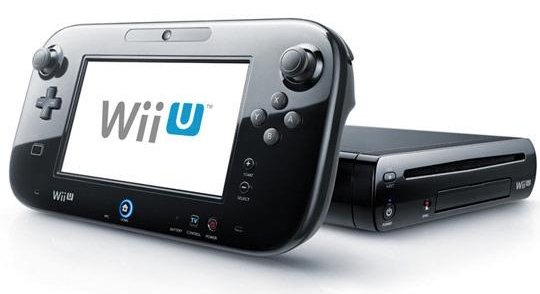
Nintendo’s new Wii U console has been causing some gamers grief when it comes to getting online, with certain consoles refusing to connect to Wi-Fi networks. The issue tends to throw up a number of error codes, with 103-1001 and 101-1002 being the most common, though there’s no real indication on the console or GamePad exactly what the problem is.
We’ve not managed to identify whether the problem is specific to a certain type of router, ISP or even a security type, but thankfully there is a workaround. It’s a little tedious but once it’s done it’s done.
Before we start, you’re going to need to have some of your network settings written down. You should be able to find these details on a sticker on your wireless router. If you can’t find them, contact your internet service provider.
SSID: The name of your wireless network, e.g.; ‘BT Homehub 32AE5’
Security Key: The password for connecting to your network, usually a string of numbers and letters. It’s case sensitive, so be sure to use lower case or upper case correctly.
Security Type: Usually WEP, WPA, WPA2 or WPA PSK. This should also be listed on your router, or if you have an Android device you can view this by looking at the available networks in Settings > Wi-Fi.
Power on, grab your GamePad and follow us!
- Open System Settings, then ‘Internet’ and then ‘Connect to the Internet’
- Press Y to go to ‘Connection types’ and then select Manual Configuration
- Touch SSID and then type in your SSID (network name), select OK to finish
- Select Security and choose your type – this should be labelled on your router
- Type in your Security Key
- Scroll right and select IP address, select “Do not auto obtain”
- On a Windows computer (must be connected to same network), open Start menu and search CMD and then open the program
- In the black CMD box, type ipconfig and press enter
- Write down the first IP address, add 10 to the last digit
- Select the IP Address field on the Wii U and type in the IP address you wrote down
- Enter the Subnet Mask and Gateway as they appear in the CMD window on your PC
- Select Confirm
- Select DNS then select “Don’t auto obtain”
- Fill in DNS info as follows: Primary DNS: 8.8.8.8 Secondary DNS: 8.8.4.4
- Select Confirm
- Scroll across and ensure Proxy is set as ‘Don’t Configure’
- Leave MTU Value at default (usually 1300, 1400 or 1500)
Once you’ve followed these steps, press B on the GamePad to save your settings, then confirm by pressing Save. Here you can choose to Perform Test to check your connection is working, and hopefully you’ll see a successful connection between Wii U and Network and then to the Internet.
Let us know how you get on by adding a comment below, or find us on Facebook and Twitter.

