There are many benefits to building your own PC; aswell as the satisfaction of having done it yourself, you can tailor the PC to your needs and save yourself a few pennies in the process. That’s all well and good until it goes wrong and you have no idea why, (as with my first build) it’s worth it in the end.
Building a PC sounds daunting, but it’s actually pretty straightforward second time round or first if you do your homework/ don’t attempt it after a heavy night. Still even now after building countless desktops I make mistakes. So I have taken it upon myself to write a guide on how best to prepare to build and the things people miss and forget. I would have done a step by step guide but every build is different.
Step 1 Parts:
The first stumbling block is which parts to buy, the first build I did I got this almost perfect by dumb luck, you may not be so lucky. See the issue is not all parts are compatible, for example processors and motherboards, they have different connections noted by a LGA number For instance, Intel’s Ivy Bridge chips need a motherboard with the LGA 1155 socket, Haswell chips use LGA 1150.
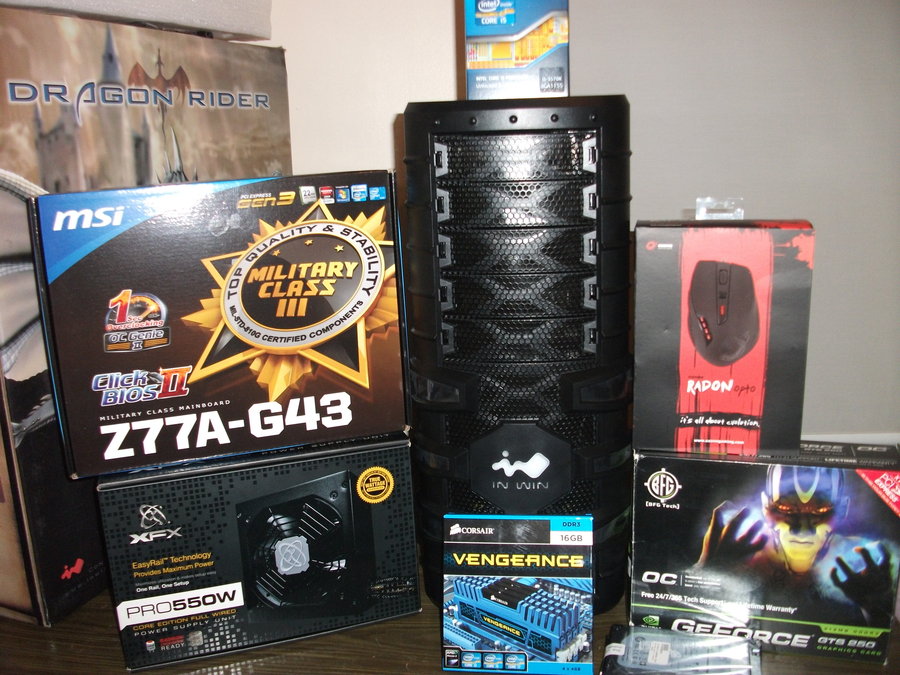
I’ll be honest you could spend ages learning which bits work with what and that would be great, or you could do the sensible thing and go to uk.pcpartpicker.com. I’ve used this for my second build and when doing builds for other people and it made my life so much easier, apart from having virtually every PC component under the sun, it tell you if any part you have chosen is incompatible. It also shows you who is selling it and at what price.
Now I said I got this part almost perfect, one thing part picker won’t tell you is if you are being stingy on the power supply. Two things get a modular one and make sure it’s powerful enough. Initially I bought a 650W and after doing my homework discovered I needed about 200W more, safe to say it will not run well in these conditions. I then bought a non-modular 1000W, this means you have a set number of cables from your PSU, it’s hard to make a tidy pc when you have twice as many as needed. Head over to Thermaltake’s power supply calculator to get a good estimate how much power you need.
Make sure you didn’t miss anything, most parts will come with the required extras (SATA cables etc.). Pick up a tube of thermal paste if you plan to install an aftermarket CPU cooler.
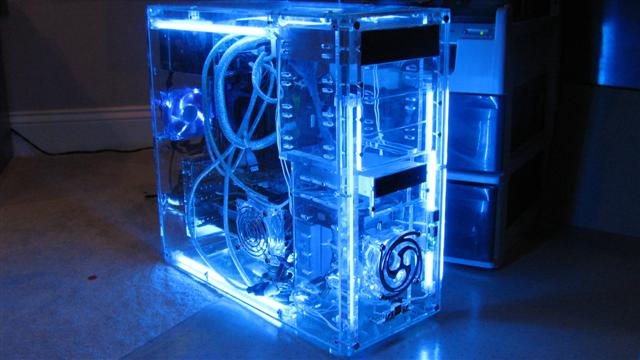
Oh and the case, don’t forget the case, and make sure it’s big enough for all the bits to fit inside. I bought a MAXI case just to be on the safe side its big and ugly bit my gtx 780 Ti just about fits. High end gaming parts will be big expect this. Operating system too, it’s an easy one to forget but the PC is relatively useless without one.
Step 2 Prep:
Before you build
I should start by saying this point is hypocritical of me, read the manuals… I’ve never even glanced over them but this is a big investment, missing a crucial part could break the whole thing. And also try to keep track of all the screws.
Preparing the motherboard
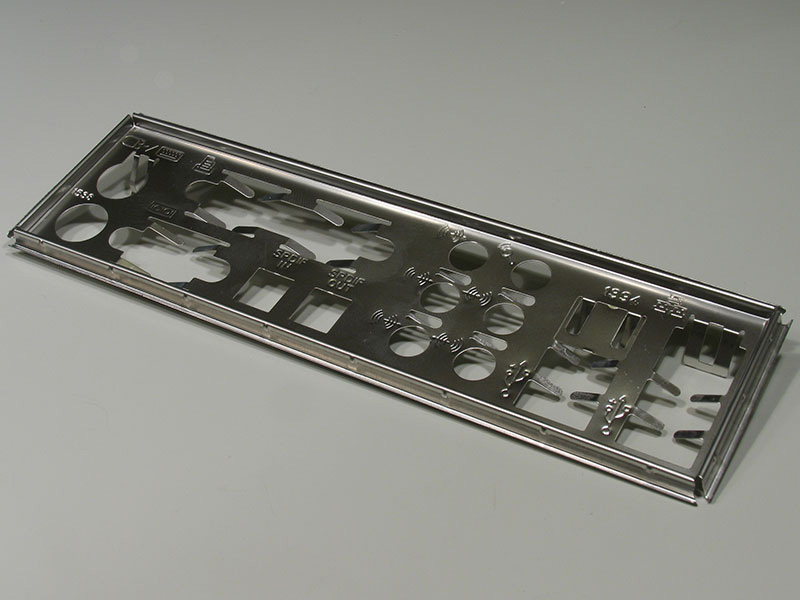
Stop. This is rookie mistake number 1, before you do anything else, take your motherboard’s I/O shield (the cover for the ports on the rear of the PC) and install it in the case now. If you forget to install the I/O shield, I guarantee you won’t notice till right at the end, then you’ll have to pull the entire motherboard out, you don’t want to disconnect all those cables and remove everything again (learn from my mistakes people).
Step 3 Assembly:
Think about the order don’t just grab parts and chuck them on, I put everything bar my CPU cooler then realise there wasn’t enough room for my hands to clip it on, out came all the parts again. The same can be said for some CPU coolers, they can overhang RAM slots in this case RAM goes on first.
On the subject of RAM, read your motherboards manual, different Mother Boards favour different configurations, (basically which slots to fill first). Not following this can impact performance.
When installing the CPU cooler remember thermal past, there should be a thing bubble free layer between the heat sink and the CPU. Use a roughly pea-size dot of paste in the center of the CPU for best results. And don’t forget to peel the plastic off the CPU heat sink in aftermarket coolers.
Speaking of which, if you’re using an aftermarket cooler with a tower-style heatsink design, be sure to position the cooler’s fans so that they point at the exhaust fans at the rear or top of the case. You don’t want all that hot air blowing around inside the case—or worse, blowing directly at your pricey graphics cards.
Your case should come with brass risers (or “standoffs”) designed to keep the metal of the case from the motherboard. An ex colleague of mine in a previous job forgot these on a build and found his pc would short after about half a second, he was lucky as there is a good chance it could ruin your motherboard permanently. And once again, read the manuals to ensure that you install only the risers you need. The risers you put in the case have to match up with the mounting holes on the motherboard.
Once the motherboard complete with RAM and CPU is screwed to the risers and the PSU is in comes the easy bit. The only major mistake you might make at this point is installing the graphics card in the wrong PCI Express slot. While many motherboards sport several physical PCI-E x16 slots, some of those may offer only PCI-E x8 capabilities. Always install your graphics card in the slot closest to the processor to ensure the best performance, if it will fit, due to the size of mine it actually ended up being in the second slot.
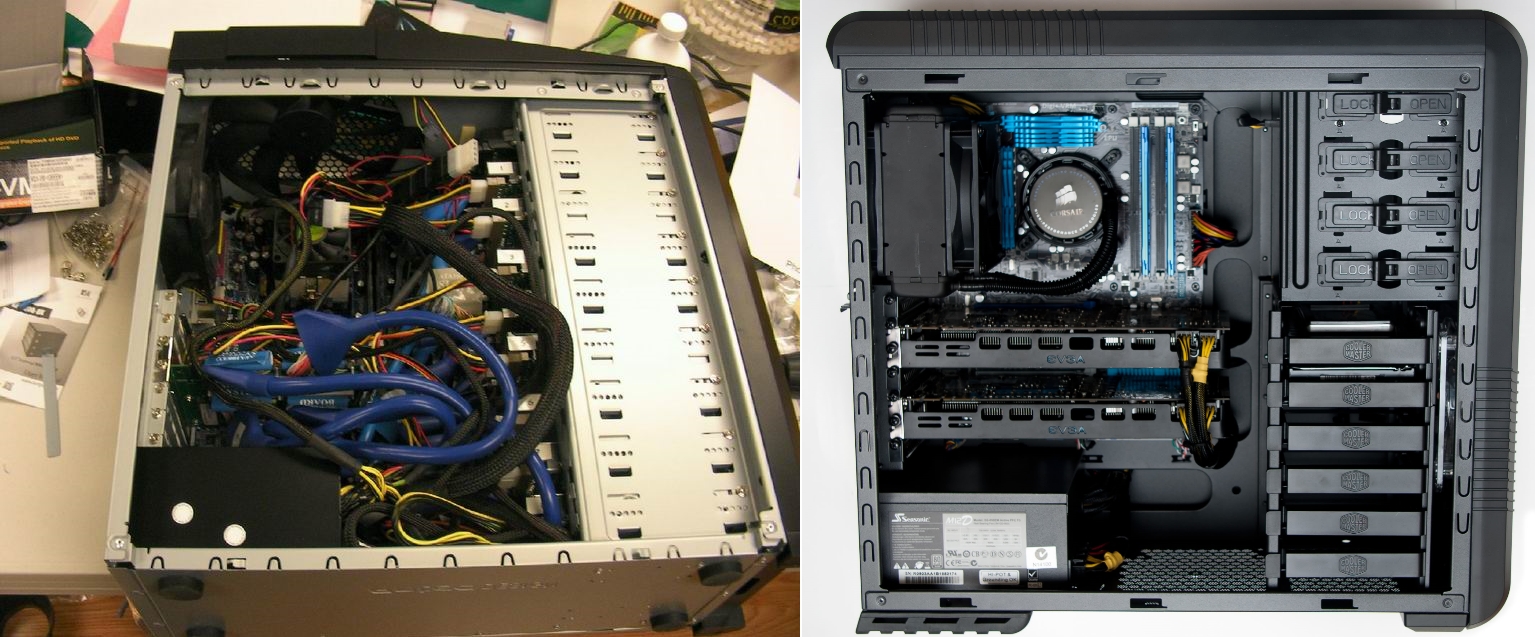
Beyond that, the most common mistake is failing to think about cable management while you wire everything up. A clean case not only looks great but also has better airflow. Think about how you’re going to route your SATA cords, power cords, and other connections as you install them. Try to tuck as many as you can behind the motherboard tray, cable ties are a great asset here.
It may seem counterintuitive but the white wire in the front-panel connectors on most cases is the negative lead. I actually made this mistake twice and have paid for it as now none of my front panel USBs work and neither does the case speaker that emits warning beeps. All because I put it the wrong way and cause a minor electrical fire. Smoke is not something you want to see coming from your new ROG formula IV motherboard.
The final mistake, and the cause of so much stress I came close to beating my first build with a crowbar is forgetting to connect something. All it takes is a single poorly seated connector to prevent your computer from booting or you know just missing a connection all together. (Note: some motherboards have two power connectors).
Good luck…