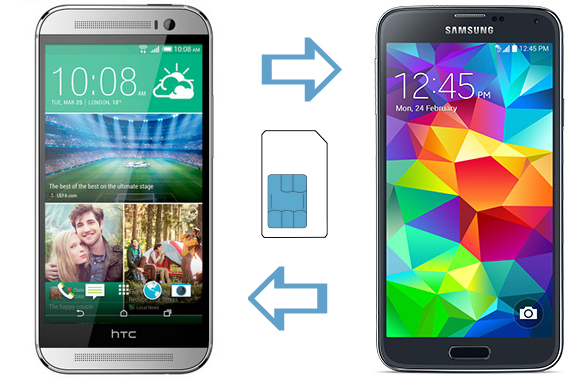
So you’ve just upgraded your smartphone to the latest Android – maybe the HTC One M8 or Samsung Galaxy S5? And you’ve popped in your existing SIM card in hope of retaining your number and contacts. But you may have found that none of your mate’s names or numbers are appearing in your phone book when you go to call them on your sweet new mobile?
This is likely because you haven’t imported them yet. So here is our simple guide on how to Import Contacts to your new Android phone.
This is a common oversight that we’ve come up against while helping some of our Gadget Helpline subscription members get started with their Android devices and we’re going to share this tip with you today!
*Please bear in mind that this process does vary from device to device but the basis remains the same on most Android versions from the top to low end handsets – the options will be there if you look for them.*
- From your Android Home screen select the Phone app.
- Tap the Contacts icon at the top (this may appear under Settings on some models)
- Press and hold the device’s Menu button.
- Tap on Import/Export.
- Select Import from SIM Card.
- Save your contacts to either the Phone/Device or Google Account.
- You can Select All or tick the individual contacts to import just a few.
- Hit Done.
Contacts stored on the SIM will now appear in the Contacts list.
The list can be filtered by using the Contacts to Display option in the Phone app Settings. This allows only the contacts from the SIM to be displayed or alternately just the contacts stored on the phone itself or any connected Gmail/e-mail accounts.

